The “Dashboard” of your app is where you can manage and control your app.
On your app dashboard, you can find a step bar that will help you manage the process and guide you through the app creation.
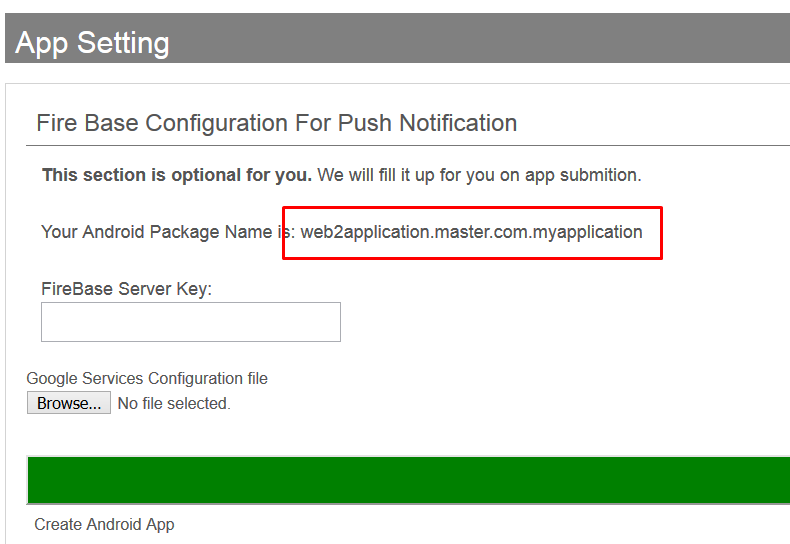
Steps 2 and 3 are already done when you open the application, Step 1 is where you can set up the push notifications.
Step 4 is where you can ask for an APK file to test your app on Android devices.
Step 5 and step 6 are the submit requests for Google Play and Apple AppStore.
Under the step bar, you have counters that show you how many users downloaded your app and will receive your push notifications.
You also have the app details and your appID number – The appID is very important for the support team to find and help you quickly. please mention the appID when you contact support.
At the bottom right you have a WhatsApp premium support button, click on that to reach the premium support team during our working hours. Your app will automatically be added to the message.
At the left, have the main menu of your app dashboard.
You have all the options there.
Send push notifications to all of your users.
Add or edit your tab bar menu.
Edit your premium configurations.
Edit your app details and replace the splash screen of your app when needed.
Ask for the APK file, submit it to the stores, etc.
You can also see a history of your push notifications and a demo preview of your app. Some sites prevent this Iframe View. If you don’t see your website here, don’t worry, It is because your website prevents IFRAME and it will work ok on the apps
Understanding Your App Dashboard
The app dashboard is your central hub for managing and controlling your app on Web2Application. It features a step bar guiding you through the app creation process:
- Step 1: Set up push notifications.
- Steps 2 & 3: Pre-completed setup tasks.
- Step 4: Request an APK file to test your app on Android devices.
- Steps 5 & 6: Submit your app to Google Play and Apple App Store.
Below the step bar, you’ll find counters displaying the number of users who have downloaded your app and those who will receive your push notifications. Your appID is prominently displayed here—always mention it when contacting support for faster assistance.
At the bottom right, use the WhatsApp premium support button to connect with our support team during working hours. Your app details are automatically included in the message.
The left side features the main menu with all your app management options, including:
- Sending push notifications to users
- Editing your tab bar menu
- Managing premium configurations
- Updating app details and splash screens
- Requesting APK files and submitting apps to stores
- Viewing push notification history and app demo previews
Note: Some websites prevent iframe views, so if you don’t see your website preview, it’s due to site restrictions. This does not affect your app’s functionality.
Frequently Asked Questions
What is the app dashboard in Web2Application?
The app dashboard is your control center where you manage your app’s settings, push notifications, APK requests, and store submissions.
How do I request an APK file for testing?
In the app dashboard, navigate to Step 4 and request the APK file. You can then download and install it on your Android device for testing.
Where can I find my appID for support?
Your appID is displayed under the step bar in your app dashboard. Always provide it when contacting support to receive faster assistance.
Why can’t I see my website preview in the dashboard?
Some websites block iframe embedding, which prevents the preview from displaying. This does not affect your app’s performance.
How do I contact premium support?
Use the WhatsApp premium support button located at the bottom right of your app dashboard during working hours. Your app details will be included automatically.
Ready to turn your site into an app?
Create your app with Web2Application — convert your website to Android and iOS apps.

 By
By