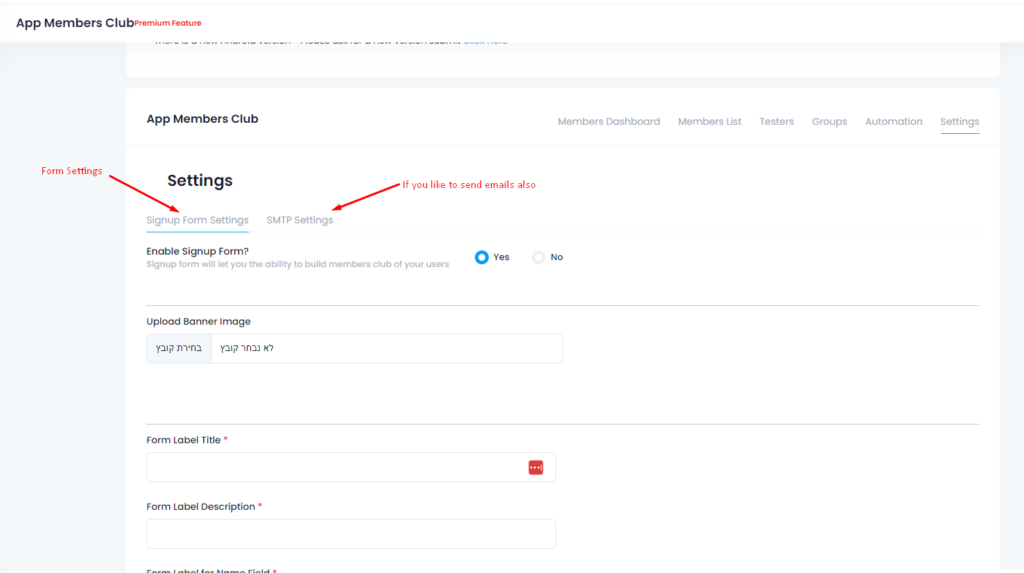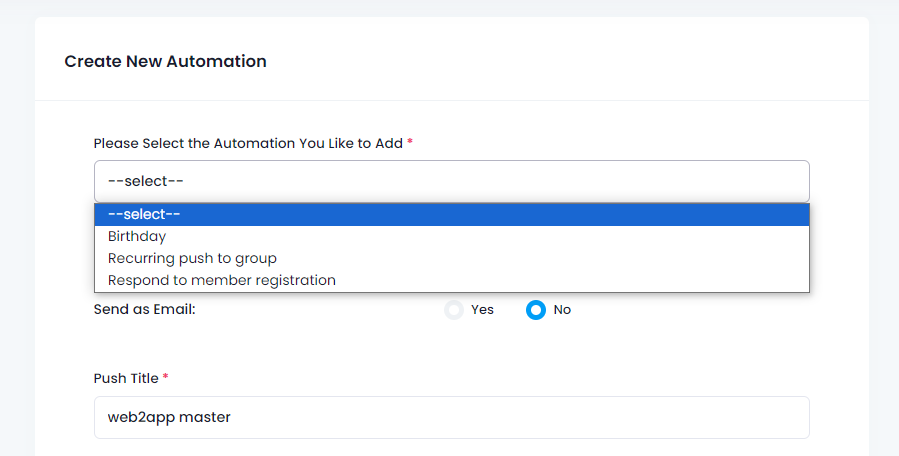
- In step one, we need to enter the application details and upload the app icon and the app splash screen. The splash screen is the screen that shows when the user opens the application on his device
- .Please enter the application name, for example, my amazing app.
- Now, enter your application e-mail.
- Please enter your site’s Full Url include HTTPS. Now, find your country’s time zone, this is for the option to schedule your push notification. It’s important to select the right time zone.
- Now we need to set up the application icon. The icon should be a JPEG image with a background. Please, do not upload any PNG images without background, images with alpha, or things like that. Google and Apple will not like it. For this example, I created an icon and splash images in advance.
- Upload the icon and then you can trim and crop it to make the icon look good. Make sure you have enough padding because Google and Apple will crop the icon to their shape icons.
- When done, save the icon, and, do the same for the splash screen. In the splash screen, you need to leave padding in the left and the right of the image, because the image will trim to the height of each device. There are a lot of different devices with different screen sizes. So, leave enough padding on the left and in the right, so that if it is cut, your image or logo will not be harmed.
- Now we can create our app. Go down and click on Create app
Step-by-Step Guide to Setting Your App Details, Icon, and Splash Screen
When creating your app with Web2Application, setting the app details, icon, and splash screen correctly is essential for a professional look and smooth user experience.
- App Details: Enter your application name (e.g., “My Amazing App”), your application email, and your website’s full URL including HTTPS.
- Time Zone: Select your country’s time zone accurately to schedule push notifications effectively.
- App Icon: Upload a JPEG image with a background. Avoid PNG images with transparency or alpha channels as they may be rejected by Google and Apple.
- Icon Padding: Ensure enough padding around the icon since stores crop icons into specific shapes.
- Splash Screen: Upload your splash screen image with padding on the left and right sides to accommodate different device screen sizes and prevent important parts from being cut off.
After uploading and adjusting your icon and splash screen, save your changes and click Create App to proceed.
Start building your app today with Web2Application and bring your website to mobile devices effortlessly!
Frequently Asked Questions
What image format should I use for the app icon?
Use a JPEG image with a background for the app icon. Avoid PNG images with transparency or alpha channels, as they may be rejected by Google and Apple.
Why is padding important for the app icon and splash screen?
Padding ensures that important parts of your icon and splash screen are not cut off when displayed on different devices or when stores crop the images into specific shapes.
How do I set the correct time zone for my app?
Select your country’s time zone in the app details section. This setting is important for scheduling push notifications at the right local time.
Can I use PNG images with transparency for my app splash screen?
It's recommended to avoid PNG images with transparency for the splash screen. Use images with solid backgrounds and proper padding to ensure compatibility across devices.
What should I do after uploading the icon and splash screen?
After uploading and adjusting your icon and splash screen, save your changes and click the 'Create App' button to finalize your app setup.
Ready to turn your site into an app?
Create your app with Web2Application — convert your website to Android and iOS apps.

 By
By