
How to Make an App From Your WordPress Website—No Coding, No Surprises: The Transparent, Step-by-Step Owner’s Guide (With Free Testing and Push Notifications)
- nir
- August 3, 2026
- Marketing
- Marketing AI
- 0 Comments
Why Turn Your WordPress Site Into a Mobile App—And Why No-Code Matters
Mobile apps are no longer a luxury—they’re a necessity for reaching users where they spend most of their time. If you run a WordPress website, you already have great content and features. But how do you turn that into a mobile app without hiring developers or learning to code?
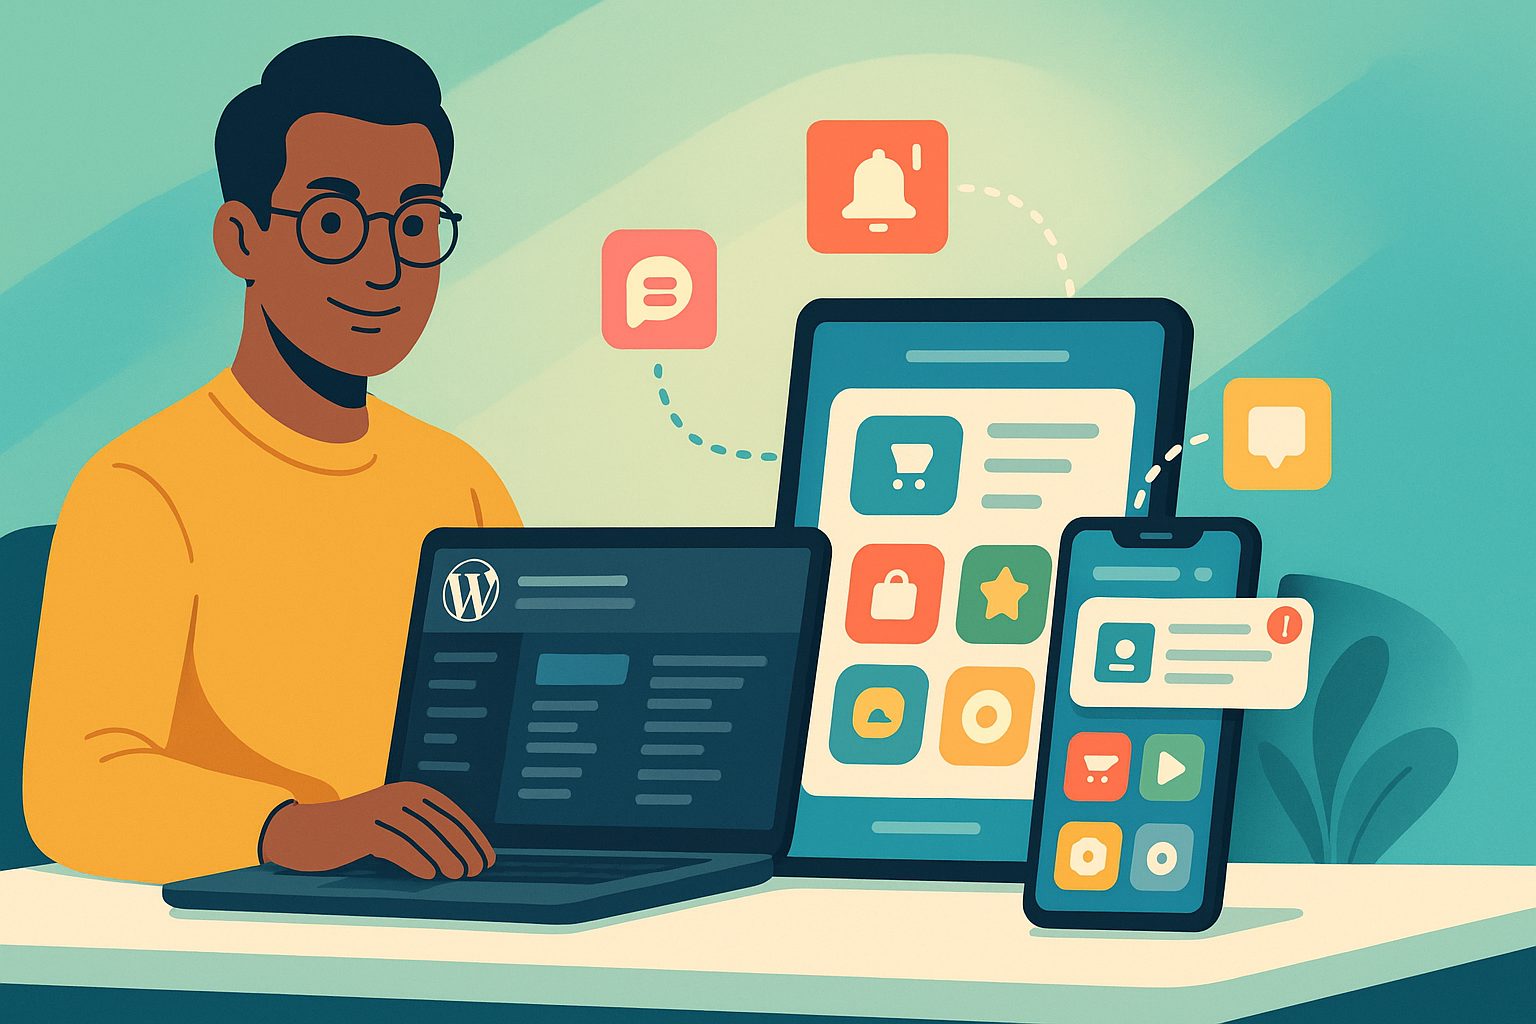
No-code app builders bridge this gap, letting you convert your WordPress site into a hybrid Android and iOS app with a native shell quickly and affordably. The key is transparency: you should be able to preview, test, and tweak your app before committing to any plan. That’s where Web2Application stands out, offering a truly owner-friendly, code-free process with free testing and push notifications included.
What You’ll Need Before You Start
- Your WordPress website: Live and accessible (any theme or builder, including Elementor and WooCommerce supported).
- App icon and splash screen images: For a professional look (Web2Application provides guidance on sizing).
- Google account: For enabling push notifications via Firebase (free and easy to set up).
- Web2Application account: Sign up free here.
Step 1: Connect Your WordPress Site to Web2Application (No Coding Required)
- Sign up at Web2Application and create a new app in your dashboard.
- Enter your website URL. Web2Application will auto-detect your site type and guide you to install the official WordPress plugin (no manual coding or API setup required).
- Install and activate the Web2Application WordPress plugin from your site’s admin panel. Copy the API key from your app dashboard and paste it into the plugin settings.
- Once connected, your app will sync with your website content—no coding or technical hurdles.
Step 2: Customize Your App’s Look and Navigation—Instant Visual Preview
- Upload your app icon and splash screen directly in the dashboard.
- Choose colors, set up the bottom tab bar menu, and adjust navigation—all with instant visual previews.
- For advanced users, tweak the app’s design with custom CSS for a unique look (optional).
- Preview your changes live in the dashboard before moving forward.
Step 3: Enable Push Notifications for Real-Time Engagement
- Go to the Push Settings tab in your app dashboard.
- Follow the step-by-step Firebase setup wizard to connect your Google account and activate push notifications—no coding or manual configuration needed.
- Once enabled, you can send push notifications to your app users directly from the Web2Application dashboard (Premium feature, available in the free trial).
Step 4: Generate and Test Your Android APK Instantly—Before You Commit
- From your app dashboard, request an APK build with one click. No waiting for support or extra fees.
- Download the APK file and install it on your Android device for real, hands-on testing. (Enable “Install from unknown sources” on your device if prompted.)
- Check that your content, navigation, and push notifications work as expected. Make tweaks in the dashboard and generate a new APK anytime during your free trial.
Step 5: Next Steps—How to Go Live on Google Play and Apple App Store
- When you’re happy with your app, upgrade to Premium for store submission support.
- Web2Application guides you through opening developer accounts (Google and Apple) and handles the technical submission process for you.
- Test your iOS build with Apple TestFlight before submitting to the App Store.
- Once approved, your app is live on both major platforms—ready to reach your audience!
Troubleshooting and FAQs: Common Owner Questions Answered
- App not updating content? Make sure the WordPress plugin is connected and the API key matches. Try clearing the app cache or reinstalling the APK.
- Push notifications not working? Complete the Firebase setup in Push Settings and check device notification permissions. Push is available with Premium (try it free for 14 days).
- Can I test before paying? Yes! Web2Application lets you generate a test APK and explore Premium features with a 14-day free trial—no surprises or hidden steps.
Ready to See Your WordPress Site as a Real App?
With Web2Application, you can turn your WordPress website into a hybrid Android and iOS app with a native shell—no coding, no surprises, and no commitment until you’re satisfied. Create Your App Free, generate your test APK, and explore push notifications and more with a 14-day Premium trial. Experience the easiest, most transparent way to go from website to app—today.
Frequently Asked Questions
Do I need to know how to code to make an app from my WordPress website?
No coding is needed. With Web2Application, you simply connect your WordPress site using the official plugin and follow the step-by-step dashboard. All technical work is handled for you.
Can I test my app before publishing or paying?
Yes! Web2Application lets you generate a test APK for Android and preview your app’s look and features before any commitment. You can also explore Premium features with a 14-day free trial.
How do push notifications work with my WordPress app?
After connecting your site, you enable push notifications by following the Firebase setup wizard in the Web2Application dashboard. You can then send notifications to your app users directly from your dashboard.
What if my website uses WooCommerce or Elementor?
Web2Application supports WooCommerce and Elementor. The plugin syncs your products and pages, so your app reflects your site’s content and design.
What happens if I cancel during the trial?
You can cancel anytime during your 14-day trial. No charges will be made unless you choose to upgrade to Premium.
Ready to turn your website into an app?
Create your Android and iOS app without coding. Start free, generate a test APK, and explore Premium features with a 14-day trial.