
The Mistake-Proof Owner’s Checklist: What to Prepare Before You Convert Your Website Into an App (With Real Testing and Store-Ready Steps)
- nir
- August 19, 2026
- Marketing
- Marketing AI
- 0 Comments
Why Preparation Matters: Avoiding Costly Mistakes in Website-to-App Conversion
Converting your website into an app is an exciting step, but many owners underestimate the preparation needed for a smooth, successful launch. Without a clear checklist, it’s easy to miss critical details—leading to failed app store submissions, poor user experience, or wasted time and money. This guide gives you a transparent, actionable workflow so you can avoid common pitfalls and confidently turn your website into a real mobile app.
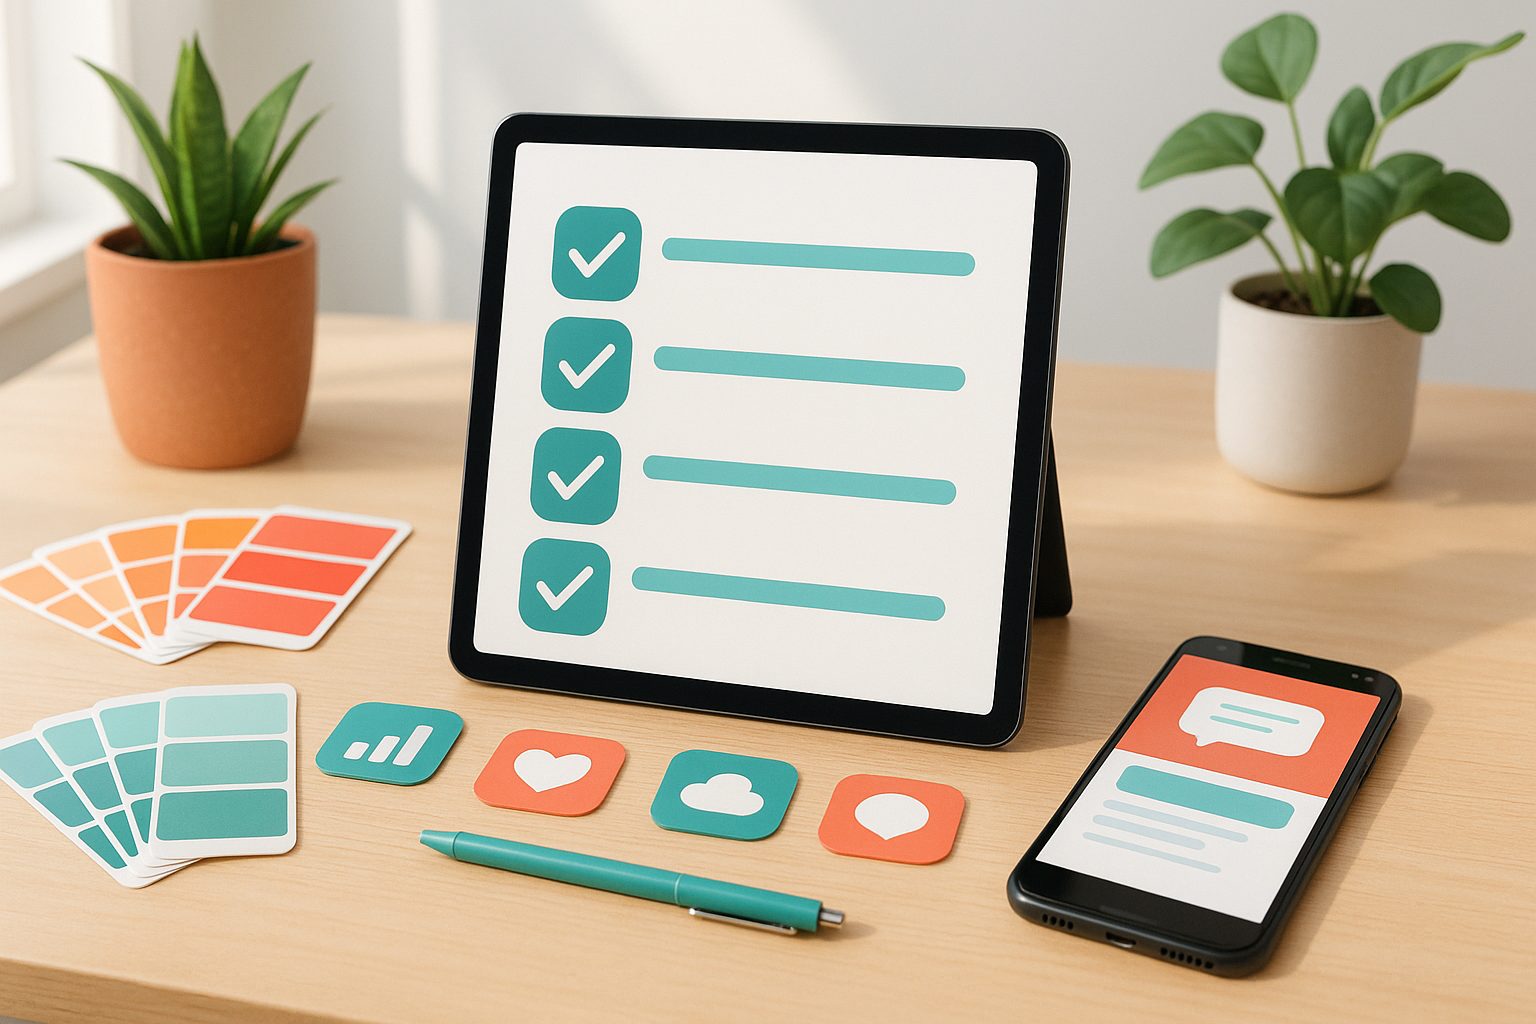
Pre-Conversion Essentials: What Every Website Owner Needs Before Starting
- Website Health Check: Ensure your website loads quickly, is mobile-friendly, and has no major bugs.
- Content Accessibility: Confirm all key pages and features are accessible without login (unless your app will require authentication).
- HTTPS Enabled: Secure your site with SSL. Both Google Play and Apple App Store require secure connections for apps.
- Clear Navigation: Simplify menus and structure so users can easily find what they need in the app version.
Design Assets Checklist: Icons, Splash Screens, and Store-Ready Visuals
- App Icon: Prepare a high-resolution square icon (at least 1024x1024px, PNG, no transparency).
- Splash Screen: Design a launch image or logo (1242x2436px for iOS, 1280x1920px for Android recommended).
- Store Screenshots: Plan to capture app screenshots after testing for use in Google Play and App Store listings.
- Brand Colors: Have your primary and secondary brand colors ready for app theming.
Setting Up for Push Notifications: What to Know Before You Convert
- Google Firebase Account: Create or access a Firebase account for push notification setup.
- Notification Strategy: Decide what types of messages you’ll send—promotions, updates, reminders, etc.
- Web2Application Integration: With Web2Application, you’ll follow a step-by-step wizard to connect Firebase and enable push notifications for your app—no coding required.
Testing Your App: How to Generate and Install a Real APK (No Coding Needed)
- Sign up at Web2Application and create a new app in your dashboard.
- Upload your app icon and splash screen, configure basic settings, and (if using WordPress) connect the plugin for content sync.
- Set up push notifications following the guided Firebase setup.
- Request your test APK directly from the dashboard.
- Download the APK and install it on your Android device (enable “Install from unknown sources” if needed).
- Test all app features, navigation, and notifications on a real device before moving forward.
Tip: Testing with a real APK lets you catch issues early, ensuring your app works as intended before store submission.
Optimizing Your Website for App Performance and Store Guidelines
- Responsive Design: Double-check that your site looks and works great on mobile screens.
- Fast Load Times: Optimize images and scripts to minimize loading delays in the app.
- Native Features: Consider adding app-only features like push notifications or a bottom tab bar for a more native feel (easily configured in Web2Application).
- App Store Compliance: Review Apple’s and Google’s guidelines—especially Apple’s requirement for meaningful native functionality.
Final Steps: Submitting to Google Play and Apple App Store
- Google Play: Set up a Google Play Developer account. Premium users of Web2Application can request professional submission support directly from the dashboard.
- Apple App Store: Register for an Apple Developer account ($99/year). Web2Application guides you through Apple’s process, including TestFlight testing and submission.
- Store Listing: Prepare your app description, keywords, privacy policy URL, and screenshots for each store.
- App Updates: Plan for future updates—Web2Application makes it easy to submit new app versions as your website evolves.
How Web2Application Makes the Process Mistake-Proof (With Free Trial and Support)
Web2Application is designed for website owners who want a real app—without coding or technical headaches. The platform provides:
- Step-by-step dashboard: Guides you through every stage, from design assets to push notifications and store submission.
- Real APK testing: Instantly generate and install a test APK to catch issues early.
- WordPress integration: Sync content and features with a simple plugin (including WooCommerce support).
- Premium features: Unlock push notifications, store submission support, and priority WhatsApp assistance with a 14-day free trial.
- Transparent support: Access help via chat, email, or WhatsApp—no guesswork.
Ready to see your website as a real mobile app? Create Your App Free—generate a test APK, explore Premium features with a 14-day trial, and launch confidently with Web2Application’s mistake-proof workflow.
Related articles
Frequently Asked Questions
What do I need before I convert my website into an app?
Before converting your website into an app, ensure your site is mobile-friendly, loads quickly, uses HTTPS, and has clear navigation. Prepare your app icon, splash screen, and brand colors. If you want push notifications, set up a Google Firebase account. These steps will help ensure a smooth conversion and app store approval.
How can I test my app before publishing to the app stores?
With Web2Application, you can generate a real APK file for your Android app directly from your dashboard. Download and install the APK on your device to test all features, navigation, and push notifications before submitting to Google Play or the App Store.
Do I need coding skills to convert my website into an app?
No coding is required. Platforms like Web2Application provide a step-by-step dashboard, letting you convert your website into a hybrid app with a native shell, customize design, enable push notifications, and test your app—all without writing code.
What design assets are required for app store submission?
You’ll need a high-resolution app icon (1024x1024px, PNG), a splash screen image, and screenshots of your app for store listings. Having your brand colors ready will also help with theming your app.
How does Web2Application help with app store submission?
Web2Application offers guided workflows for both Google Play and Apple App Store submission. Premium users get direct support for submitting their apps and navigating developer account requirements, ensuring your app meets store guidelines.
Ready to turn your website into an app?
Create your Android and iOS app without coding. Start free, generate a test APK, and explore Premium features with a 14-day trial.