
From Dream to Download: Step-by-Step Guide to Turning Your Passion Project Into a Real Android & iOS App (No Coding Needed)
- nir
- August 22, 2026
- Marketing
- Marketing AI
- 0 Comments
Why Your Passion Project Deserves Its Own App (And What Changes When You Go Mobile)
Have you poured your heart into a blog, creative portfolio, community group, or side project? If so, you know the joy of building something meaningful. But what if you could put your project right into the hands of your audience—anywhere, anytime? Turning your passion project into a real Android and iOS app isn’t just a technical upgrade. It’s a way to deepen engagement, grow your community, and make your work more accessible. With a mobile app, your project is just a tap away—whether it’s a poetry zine, a local club, or a niche hobby resource.
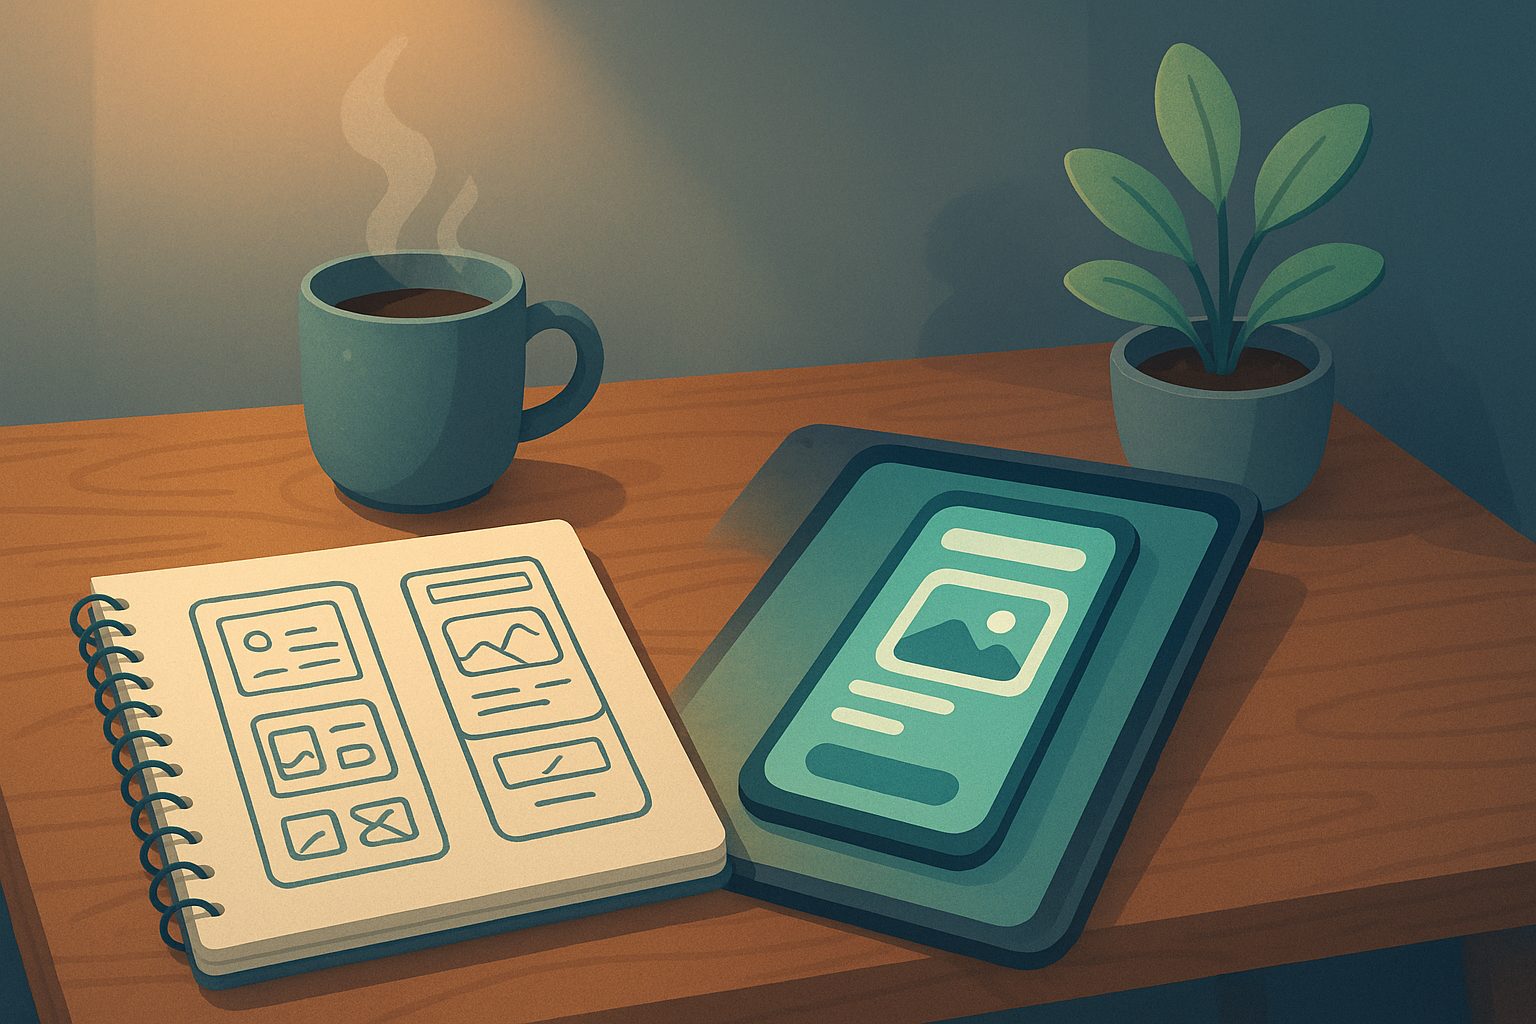
What You Need to Get Started: Planning, Content, and App Store Requirements
Before you dive into app creation, take a moment to plan:
- Your Vision: What do you want users to experience? Is it reading, connecting, shopping, or exploring?
- Your Content: Ensure your website or project hub is up-to-date. Your app will reflect this content.
- App Store Basics: Both Google Play and Apple App Store have guidelines—even for non-commercial or community apps. Make sure your project offers real value, is easy to navigate, and has a unique identity (icon, splash screen, etc.).
Choosing the Right Tool: Why Web2Application Is Ideal for Creators and Side Projects
Most app builders focus on businesses and can be overwhelming for creators or hobbyists. Web2Application is different. It’s designed for anyone who wants to turn a website or online project into a real, native Android and iOS app—no coding or technical background needed. You get:
- Simple, step-by-step dashboard
- Support for WordPress, WooCommerce, and custom sites
- Push notifications for community updates
- Affordable plans with a free trial
- Guidance for app store submission—even for personal or non-profit projects
Step 1: Sign Up and Set Up Your Project in the Dashboard
- Sign up at Web2Application.com.
- Create a new app: Enter your project’s name and website URL. The platform will guide you through the essentials.
- Familiarize yourself with the dashboard: This is your control center for design, features, and app testing.
Step 2: Customizing Your App’s Look, Feel, and Features (No Coding Required)
- Upload your app icon and splash screen: Make your app instantly recognizable.
- Configure the bottom tab bar menu: Choose which pages or features are most important for your users.
- Enable push notifications: Keep your community updated with news, events, or new content.
- Integrate with WordPress or WooCommerce (optional): If your project is a blog or shop, connect for seamless content syncing.
- Preview your app design: The dashboard lets you see changes instantly—no coding or technical tweaks required.
Step 3: Testing Your App on Real Devices—What to Watch For
- Request your APK (Android test file): Download and install it on your own device.
- Check navigation, content updates, and notifications: Make sure everything feels smooth and intuitive.
- Ask friends or community members to try it: Fresh eyes catch things you might miss!
- Tweak as needed: Update your website or app settings to perfect the experience.
Step 4: Navigating App Store Submission for Personal or Community Projects
App store submission can feel intimidating, especially for non-commercial projects. Web2Application makes it easier:
- Android: Premium users can request submission help right from the dashboard. You’ll need a Google Play developer account (one-time fee).
- iOS: Apple requires a $99/year developer account, even for hobby apps. Web2Application guides you through Apple’s guidelines, ensuring your app offers meaningful features (like push notifications and native navigation).
- Support: If you get stuck, Web2Application’s support team is ready to help—no jargon, just real answers.
Promoting and Growing Your App: Tips for Passion-Driven Success
- Share your app everywhere: Social media, your website, email lists, and community groups.
- Use push notifications wisely: Send updates, event reminders, or new content alerts to keep users engaged.
- Encourage feedback: Ask your community what features or content they want next.
- Celebrate milestones: Every download is a win—share your journey to inspire others!
Ready to See Your Passion Project in the App Stores?
Turning your dream into a real app is easier than ever. With Web2Application, you don’t need to be a developer or have a big budget—just your creativity and commitment. Sign up for free at Web2Application and start building your app today. Your community—and your project—deserve it!
Frequently Asked Questions
Do I need coding skills to create an app for my passion project?
No coding is required! Web2Application is designed for creators, hobbyists, and community leaders with no technical background. The platform guides you step by step, from setup to app store submission.
Can I turn my WordPress blog or WooCommerce shop into an app?
Absolutely! Web2Application offers direct integration with WordPress and WooCommerce, making it easy to sync your content and products into your mobile app.
What are the costs involved in publishing my app?
Web2Application offers a free trial and affordable premium plans. To publish on Google Play, you'll need a one-time $25 developer account. For Apple App Store, Apple requires a $99/year developer account.
Will my app be accepted by Google and Apple if it’s not for a business?
Yes—many personal, creative, and community apps are accepted! Just make sure your app provides real value and follows app store guidelines. Web2Application helps ensure your app meets these requirements.
How do I keep my app content updated?
Your app syncs with your website. Update your site, and your app updates too! For WordPress users, the Web2Application plugin ensures seamless content updates.
Ready to turn your site into an app?
Create your app with Web2Application — convert your website to Android and iOS apps.